It has been a while since my last post but our house renovation has pretty much eaten up all of my free time. But with the work finally winding down I was able to get some bench time in on the Tamiya Mustang. I decided to switch gears from engine work and move on to the cockpit.
Instrument Panel
First, the fantastically detailed Barracuda Studios instrument panel. This kit comes with a resin main panel and separate knobs and switches along with a multi-part photoetched instrument panel that lays on top of readable film dials. The IP is a little time consuming but the separate bevels offer a great level of detail that couldn’t otherwise be replicated. I used Future to glue the bevels to the panel, the Future has a much longer work time than super glues which allows fine tuning of the bevel placement.
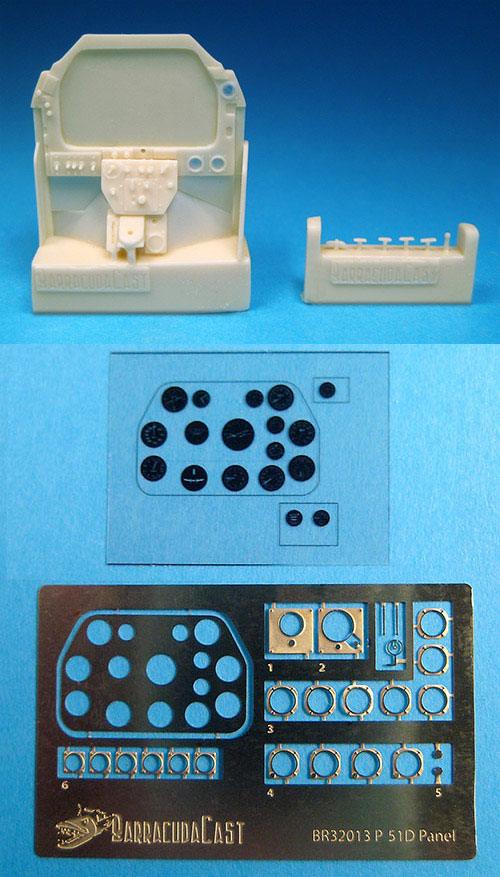
The Barracuda Studio P-51D Mustang Instrument Panel – BR32013
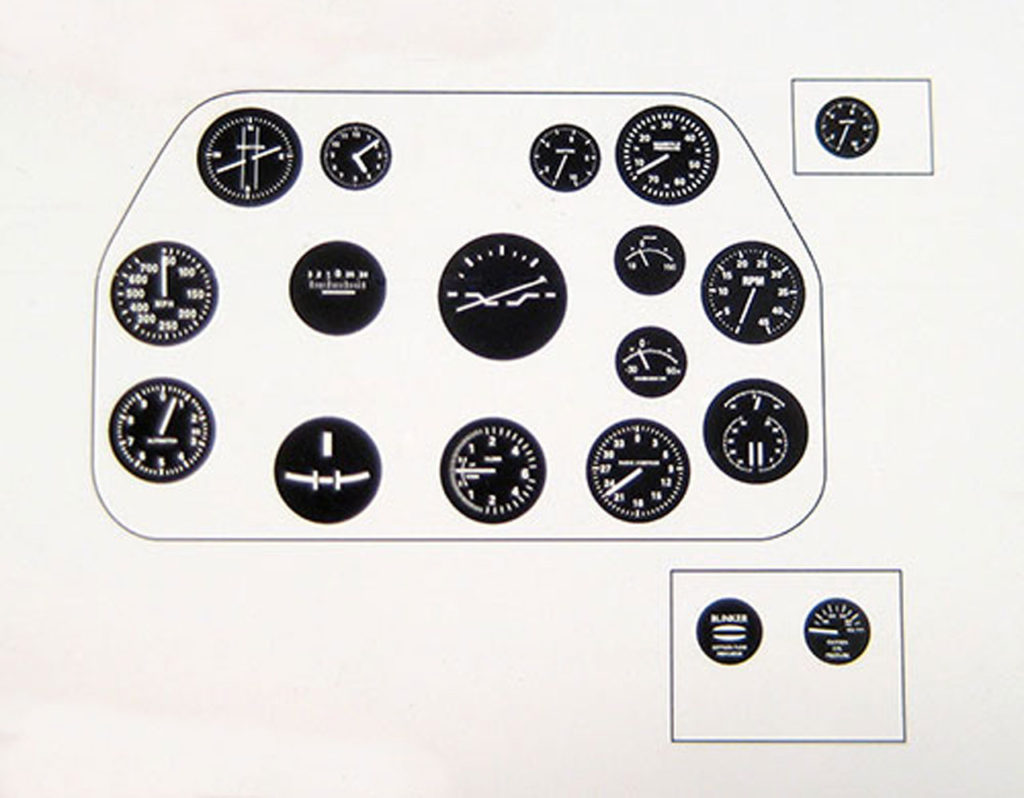
The clear instrument dial film that is glued to the back of the instrument panel
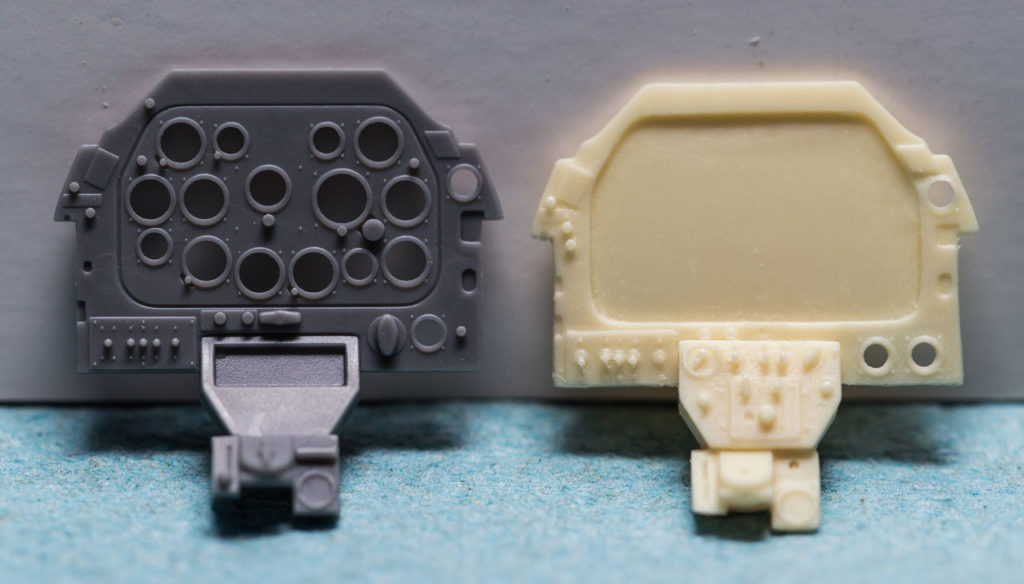
Comparison of the kit main instrument panel (left) and the Barracuda resin instrument panel (right)
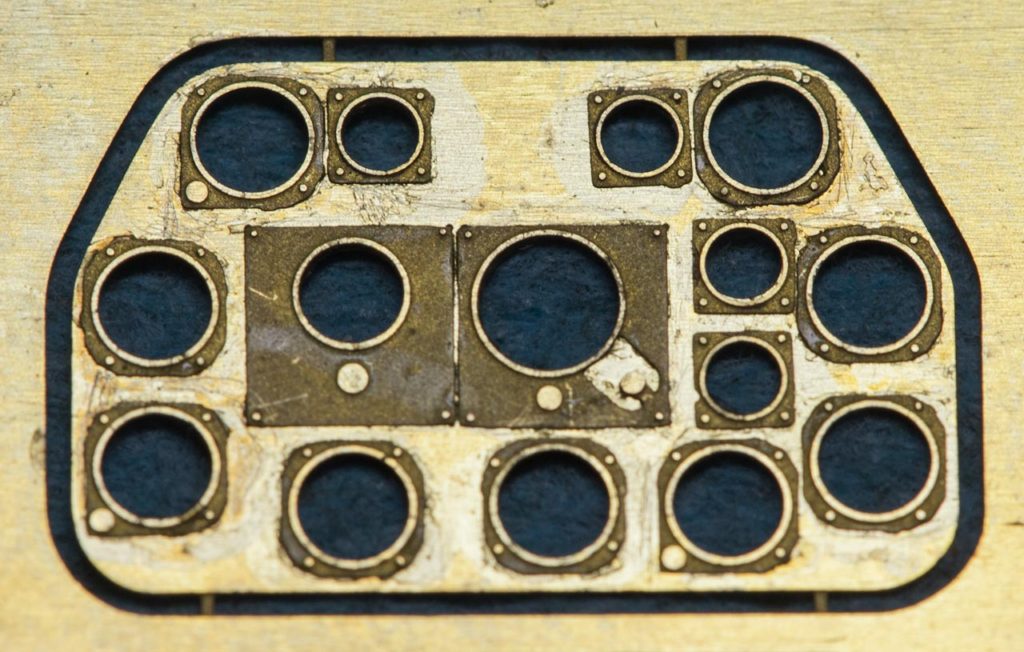
Future is used to glue the instrument bevels to the instrument panel
Radio Wire Harness
Once again Barracuda Studios comes to the rescue with another great upgrade, this time for the radio. In Barracuda’s P-51D Mustang Cockpit Upgrade kit they supply the radio, battery, gunsight, stick, throttle quadrant, and throttle levers. The only downfall of this kit is the wire harness for the radio. After lots of research I learned that this wire harness is a bundle of wires that is not covered by a shroud, a shroud that Barracuda has on their harness. To correct this oversight I went to Detail Master and bought their ignition wires. These wires have a .012” diameter and are coated with a rubber like texture that will give a great surface for paint to adhere. To form the new harnesses, I cut four equal lengths for the back connector and three equal lengths for the front connector and with a couple of twists I was able to create more accurate bundles of wire. The Barracuda harness has the connector that plugs into the radio box so those needed to be separated from the harness. Knowing the diameter of my new Detail Master harness, I drilled out the connectors and plumbed the wire to disappear behind the seat. The Mustang now has a radio.
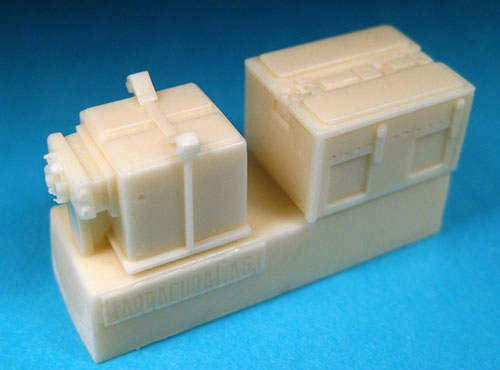
Barracuda Studio battery (left) and radio (right)
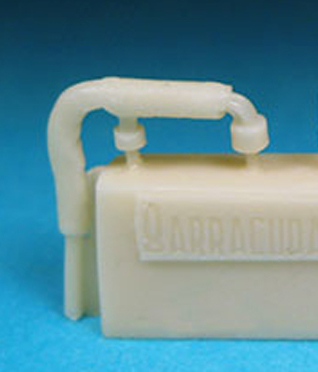
The supplied Barracuda wire harness with the shroud
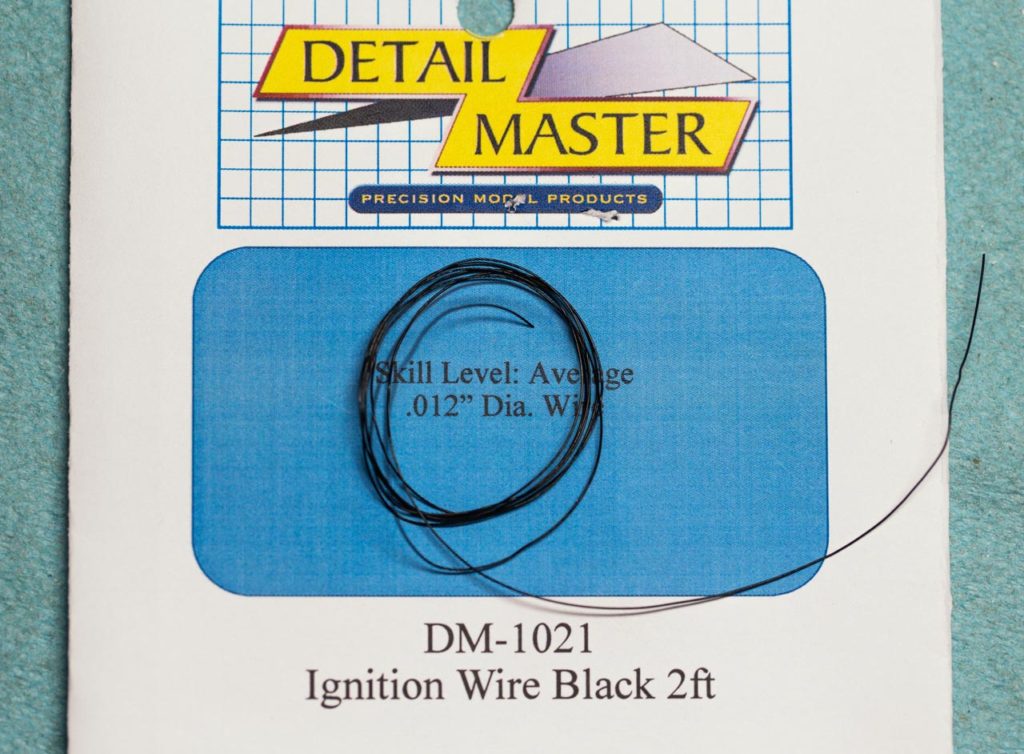
Detail Master ignition wire with a .012” diameter
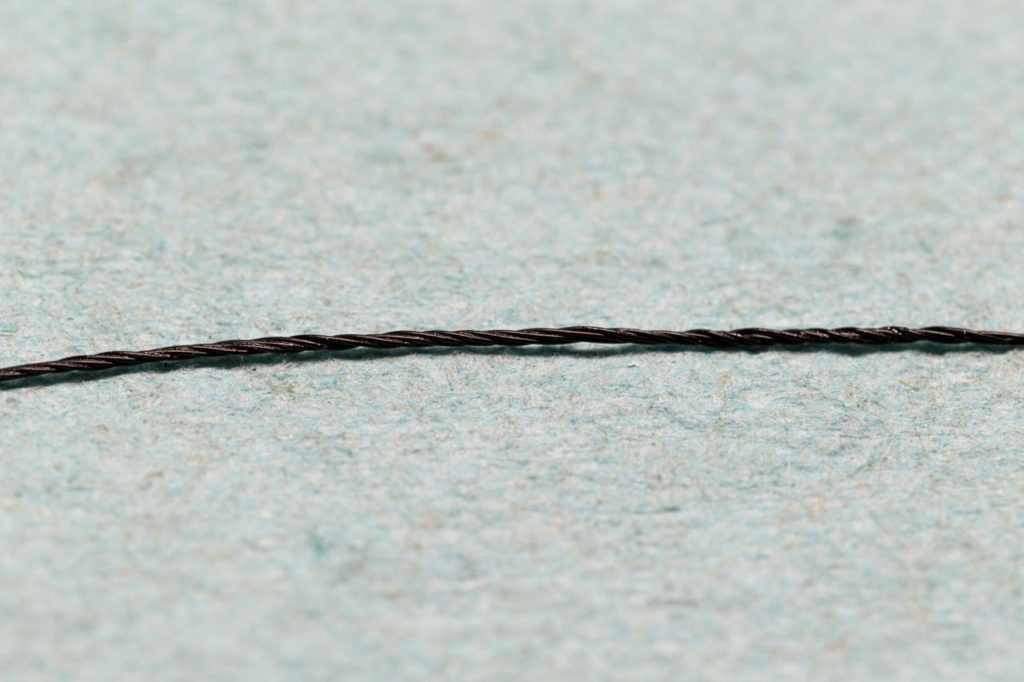
The Detail Master ignition wire spun into the new radio harness
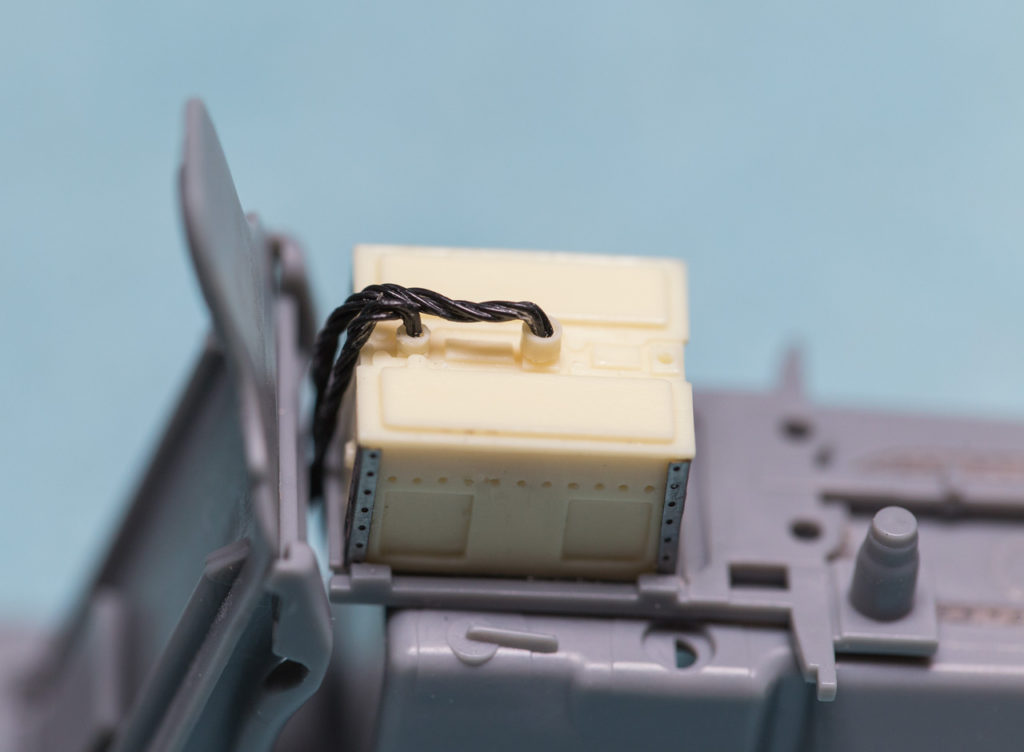
The radio installed on the rack with the wires running behind the seat. Note: the photoetched corners on the radio are from the Eduard Interior set
Seat
For the armor plating behind the seat, I decided to add a little extra detail. The seat sits on a suspension system that is attached to the armor plating that is essentially the headrest. I thought I would try to mimic the spring system for the seat.
The kit headrest contains two molded raised posts that the seats mount to. These raised posts are what are supposed to represent the seat suspension system. I cut the posts off, leaving the the top section, which will give my styrene rods something to mount to. Now for the cool scratch built tip, I found that oil seal gaskets contain garter springs that have an inside diameter of .6mm which is perfect since my outside diameter of my styrene rods are .5mm. Cutting the styrene to length and gluing them to the bases of the supports I left on the headrest, the springs slide over the styrene. This easy scratchbuilt tip will make for a nice addition that will make the cockpit that more busy looking.
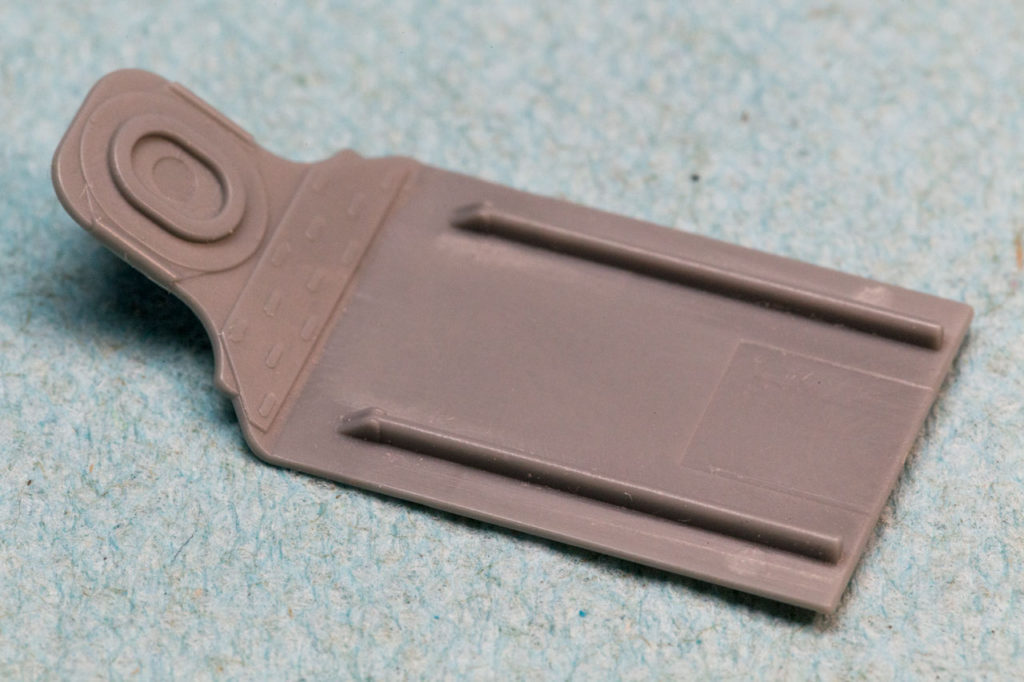
Tamiya’s headrest\armor plating
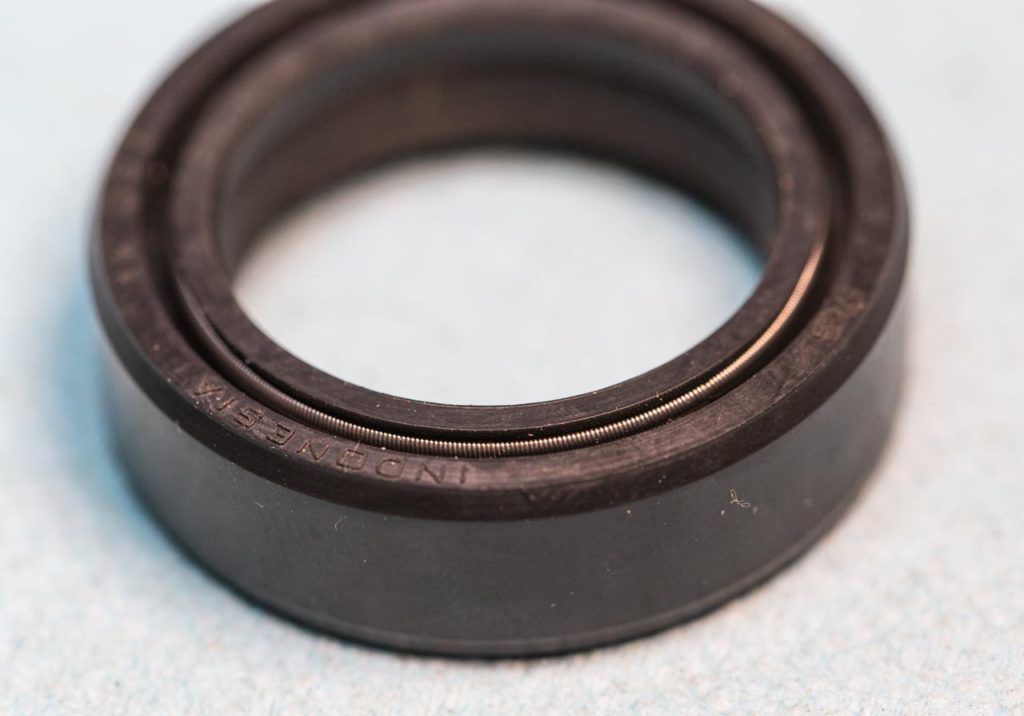
Oil gasket showing the garter spring
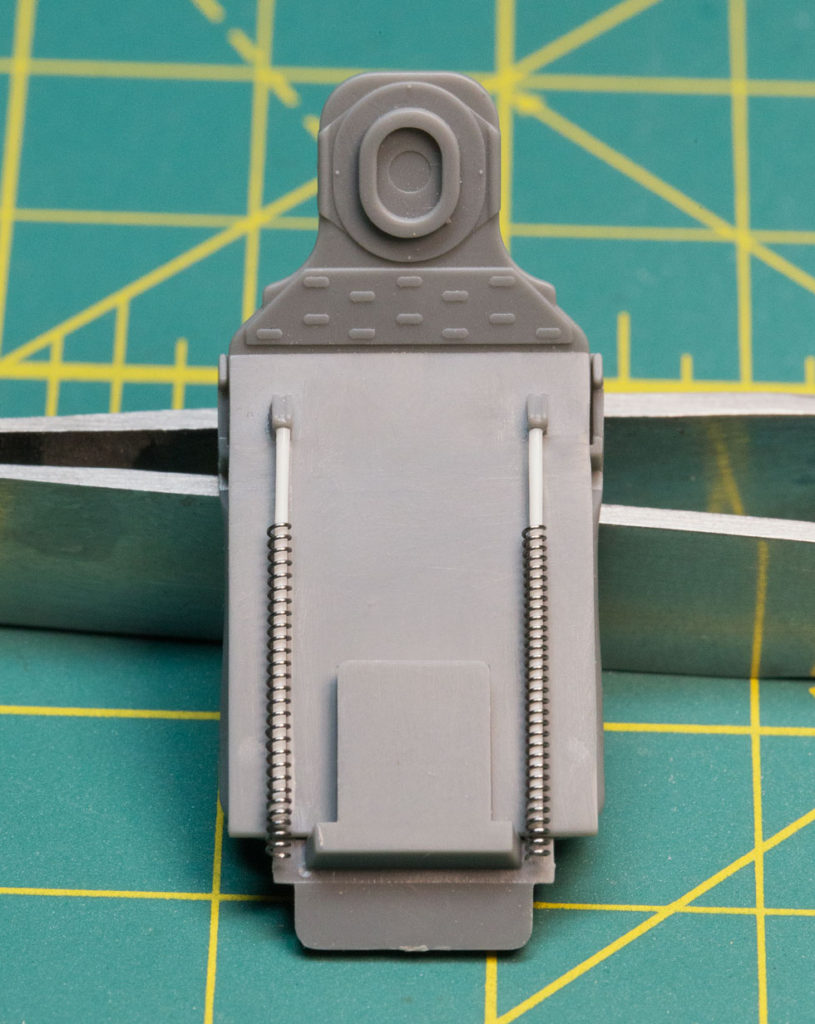
Scratch built seat suspension system
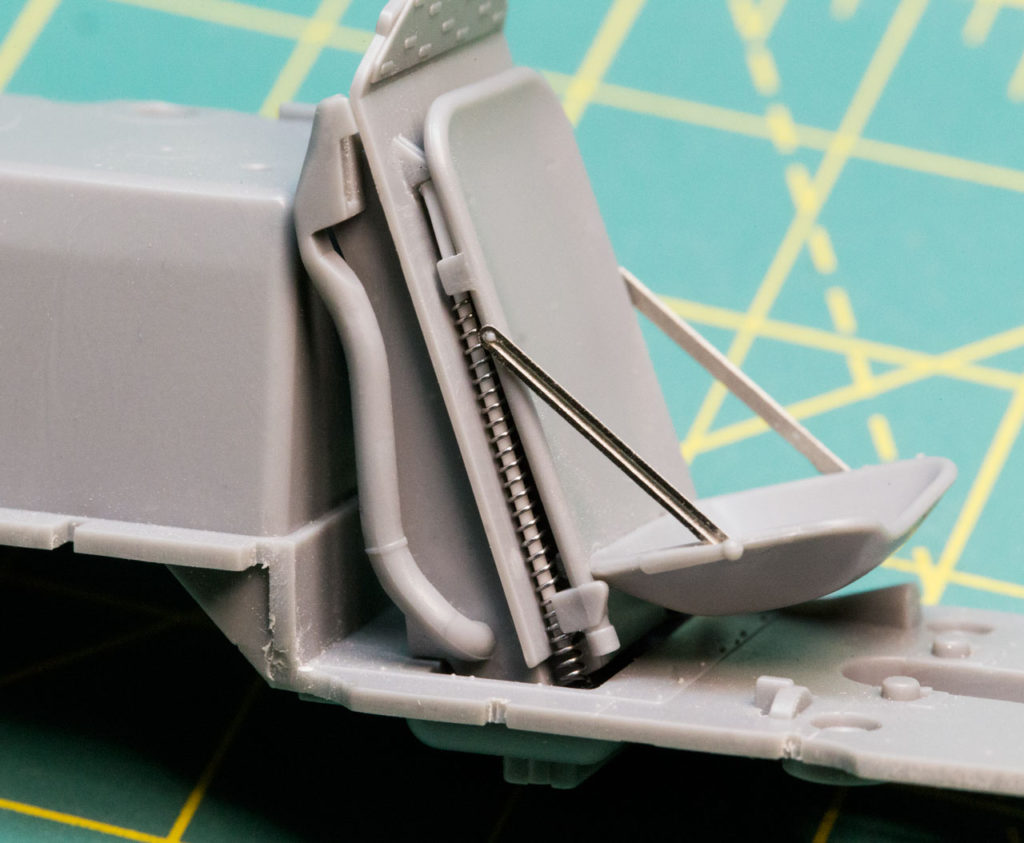
The finished seat suspension system mounted to the cockpit tub
