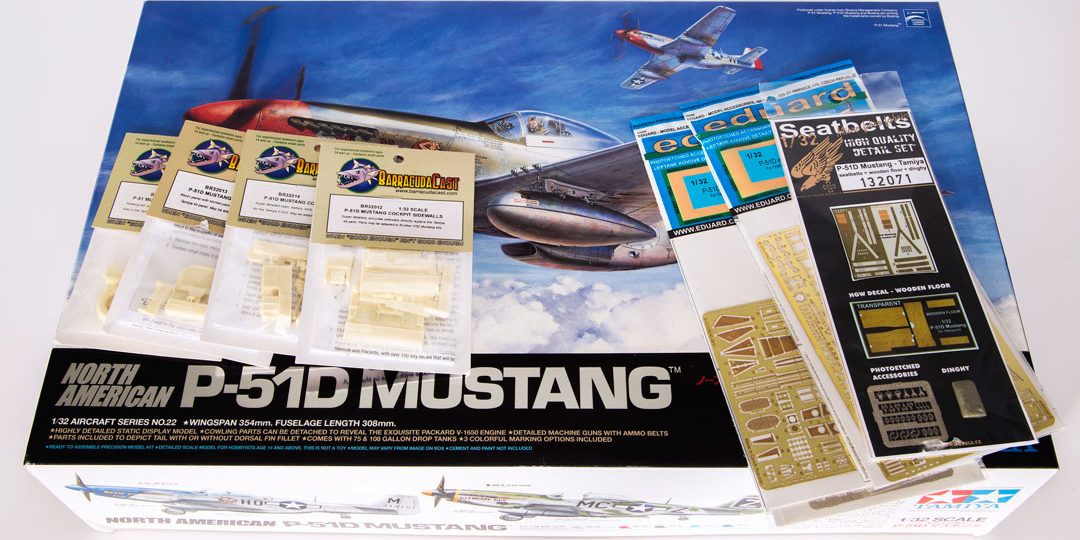
I haven’t modeled since I was a young kid putting together Revell kits with Testors cement and finishing them in a couple hours. Even though I haven’t touched a kit since middle school, I have continued to follow model forums and build sites. Now, at the age of 33 and with the recent purchase of a house, I have the room to get back into it and try out all of the methods I have learned from forums like this. I decided to dive back in with one of the great 1/32 kits from Tamiya, their P-51D. I have also added some aftermarket kits, I am sure I will add more down the road but this is what I have so far…
Web Garden Seatbelts – #132071
BarracudaCast Cockpit Sidewalls – BR32012
BarracudaCast Instrument Panel – BR32013
BarracudaCast Cockpit Upgrade – BR32014
BarracudaCast Diamond Tread Tires – BR32029
Eduard Exterior – #32302
Eduard Engine – #32307
Eduard Interior- Early – #32712
I also plan on getting the “Mustang Cockpit Stencils and Placards” from Barracuda but they haven’t been in stock for months. Roy Sutherland, if you are out there, any chance these will be available soon? I haven’t made a 100% commitment to the final paint scheme I want to depict but I am leaning towards Fundekals and their “Daddy’s Girl”.
A lot of my methods and references will come from Chuck Sawyer’s (chuck540z3) P-51 “Thunder Bird” featured on the January 2014 cover of “Fine Scale Modelers”. This man can do some work! He also is very descriptive in his techniques which have been very helpful, he always responds in detail. Also, even though I could never come close to touching the skill of dodgem37, I really love what he is doing in his “Tamiya P-51D, Sinai, 1956” build and will use that as a valuable reference.
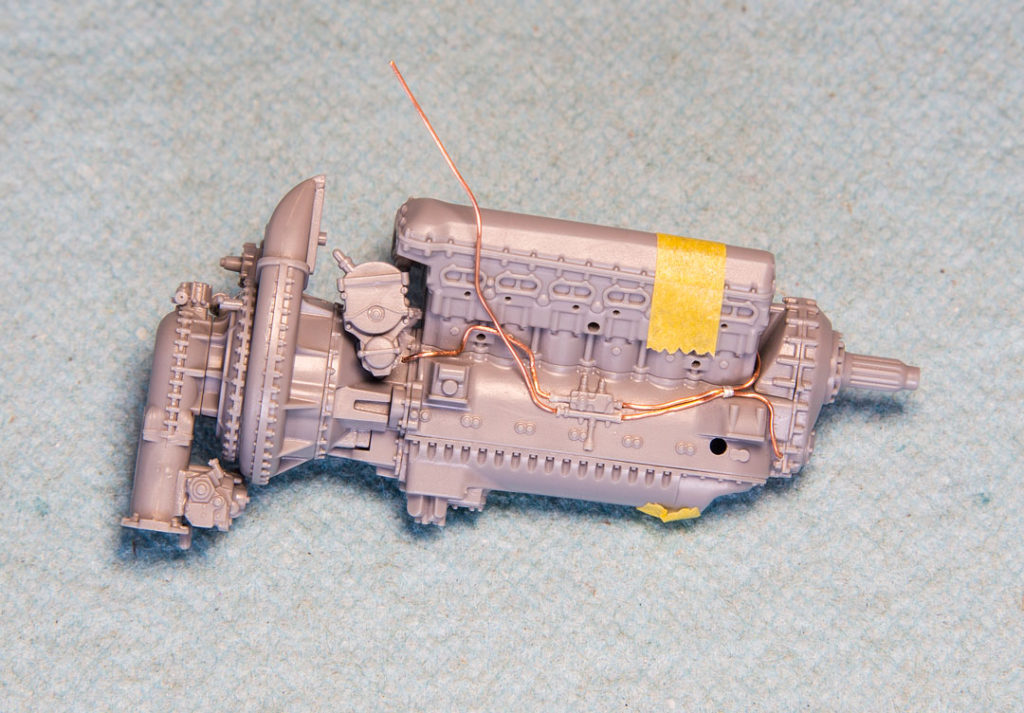
First off is the Merlin, after removing some seam lines and filling some gaps the engine went together beautifully. I plan to add a lot of extra plumbing all over the engine compartment and I started with some oil lines made out of copper wire that come out of the oil relief valve. I added a wire holder out of aluminum off a soda can.
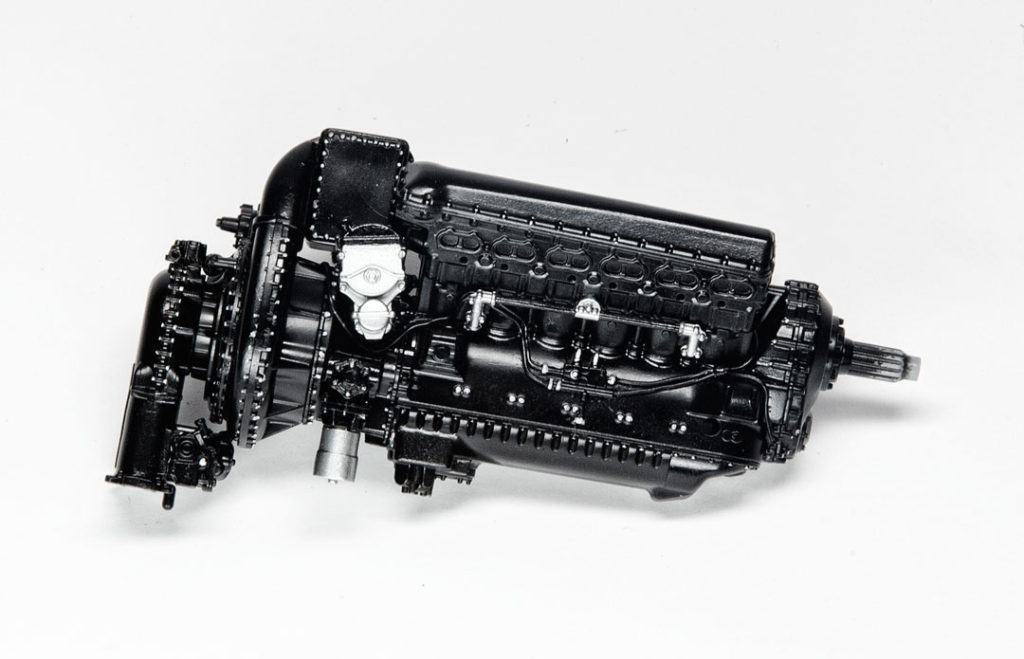
 After finishing the plumbing that wouldn’t get in the way of paint I sprayed the entire engine with decanted Tamiya TS14 black. For the magneto’s, starter, and the coolant rails I painted them Alclad Aluminum. I painted every bolt and nut with Floquil Old Silver with the tip of a #11 X-acto blade.
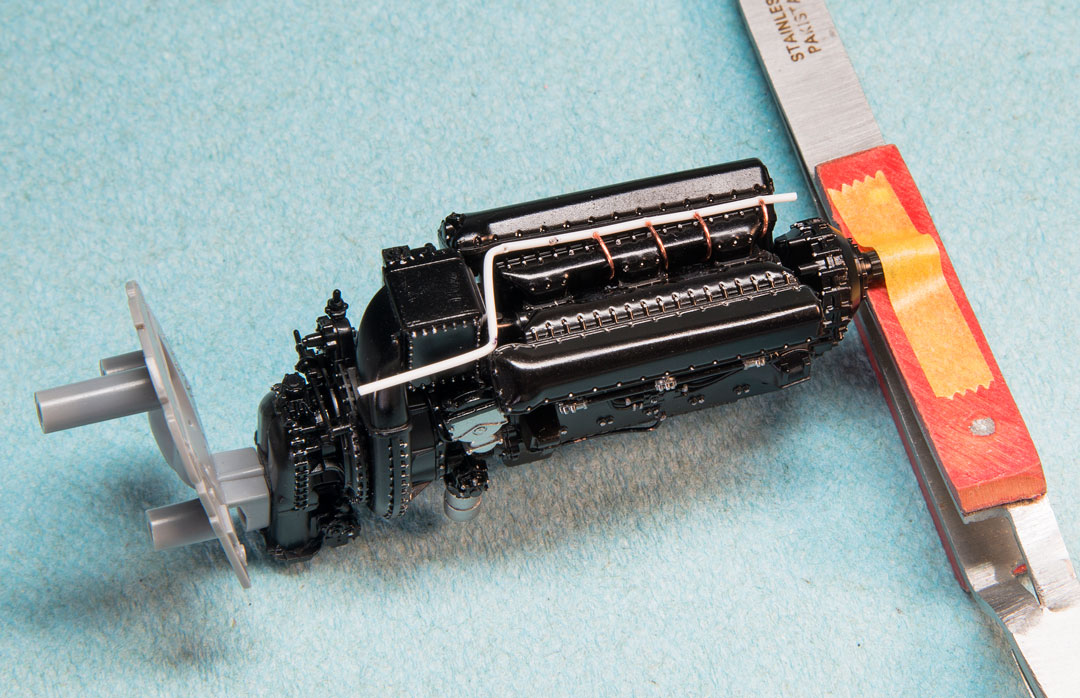
The ignition rails are made out of .030″ styrene rod with copper wires as the ignition wires. It was my first time bending a styrene rod and after many failed attempts using such methods as warm water, the stove, and a hair dryer I tried my wife’s clothes steamer with beautiful results.
That’s all for now. It is slow going since I am learning all these methods for the first time but I am having a lot fun with it so far! I look forward to everyone’s feedback.



hi i was wondering if i could use your images i have this kit and i would love to try and detail the engine the way you did thank you for your time
Of course! If you are using the pictures for personal use, that is not a problem.