The first snips of the spruce have been made and the construction of Revell’s 1/72 B-17G have begun. I started with the first steps in the instructions which are to construct the bombay.
I decided to have the bombay doors in the closed position, so I constructed just what was needed to merge the bulkheads between the cockpit, bombay, and radio room. I loaded the joints on the bombay bridge and roof with a lot of glue to give it some real structural integrity.
At such a small scale I know most of the interior detail will be lost once the fuselage halves are closed up. I am going to try and get as much light into the bomber as possible to help in showing off some interior details. The first addition will be to open up the front nose hatch. I am using pretty much every Eduard aftermarket product they offer for Revell’s B-17G. These photo-etched kits add a great amount of detail to any out of the box kit. In Eduard’s Front Interior (73382) kit they supply a front hatch that requires a hole to be cut in the nose.
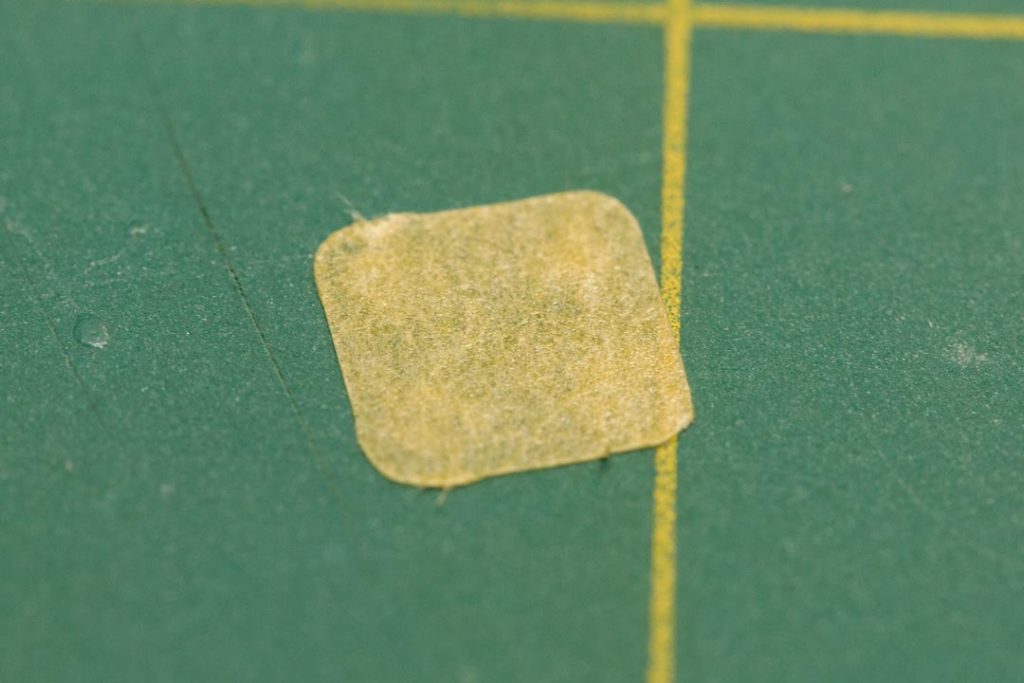
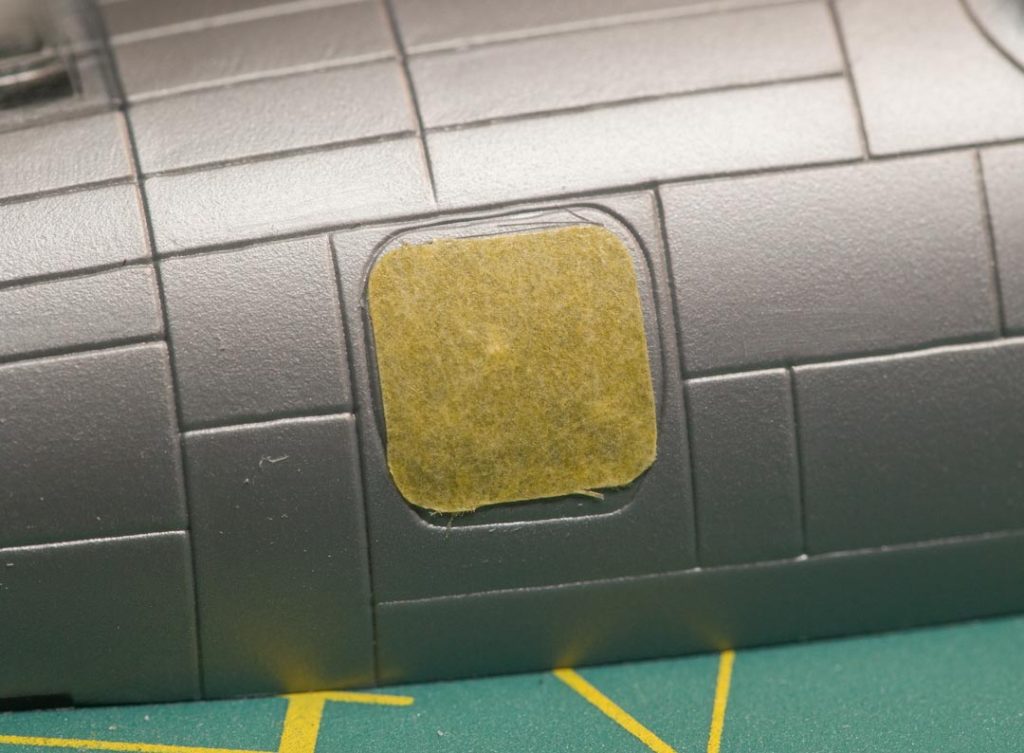
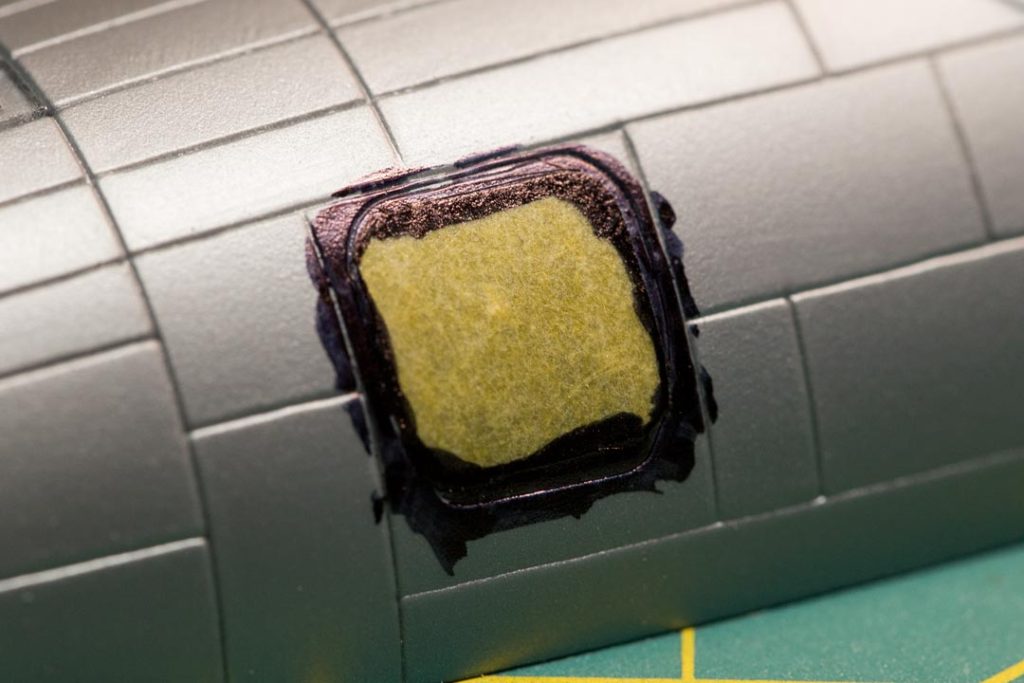
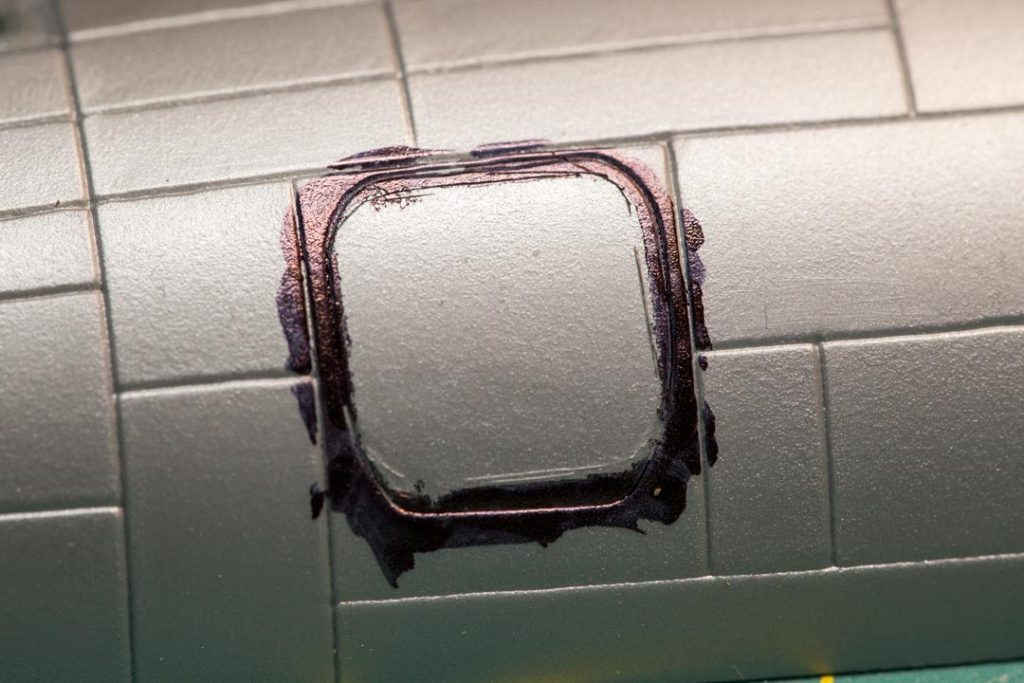
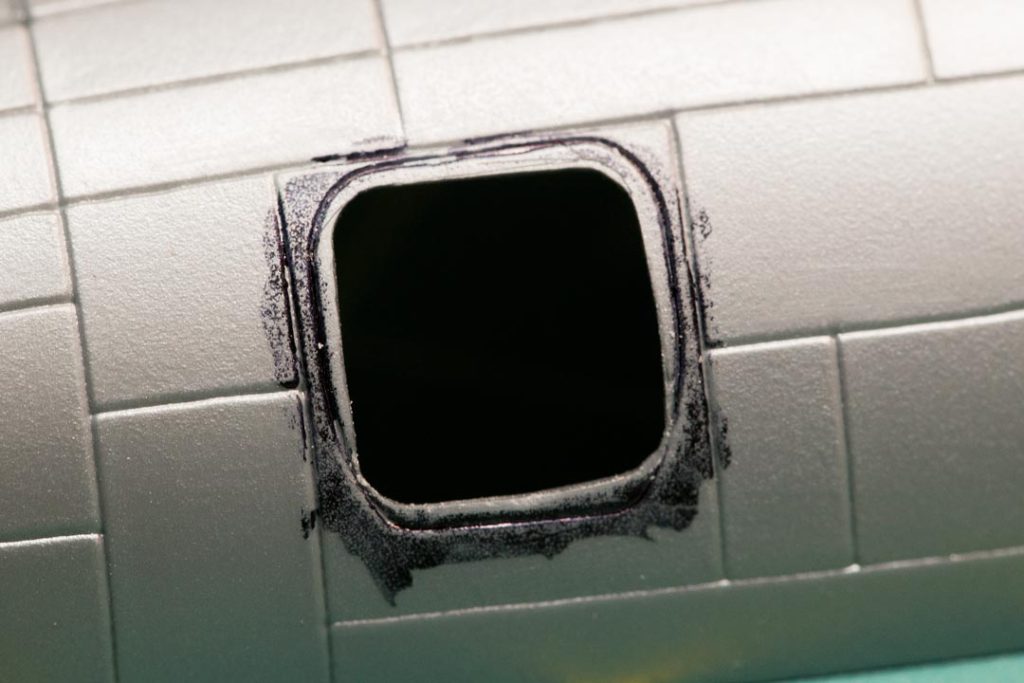
Revell’s panel lines depicting the hatch are completely inaccurate and because of this I couldn’t use these lines to cut the hole to match the outline of Eduard’s hatch. After many failed attempts of trying to trace the panel outline onto the fuselage I came up with a simpler solution. I traced the outline of Eduard’s hatch onto a piece of Tamiya masking tape and stuck it in the correct location on the fuselage. With a black Sharpie I colored around the tape which left the outline of the hatch on the fuselage. This outline makes for the perfect template to cut the hole. Once the hole was cut I took a #10 X-Acto blade and scraped away the plastic on the inside of the fuselage to thin the walls around the hatch to bring the hatch edges more to scale.
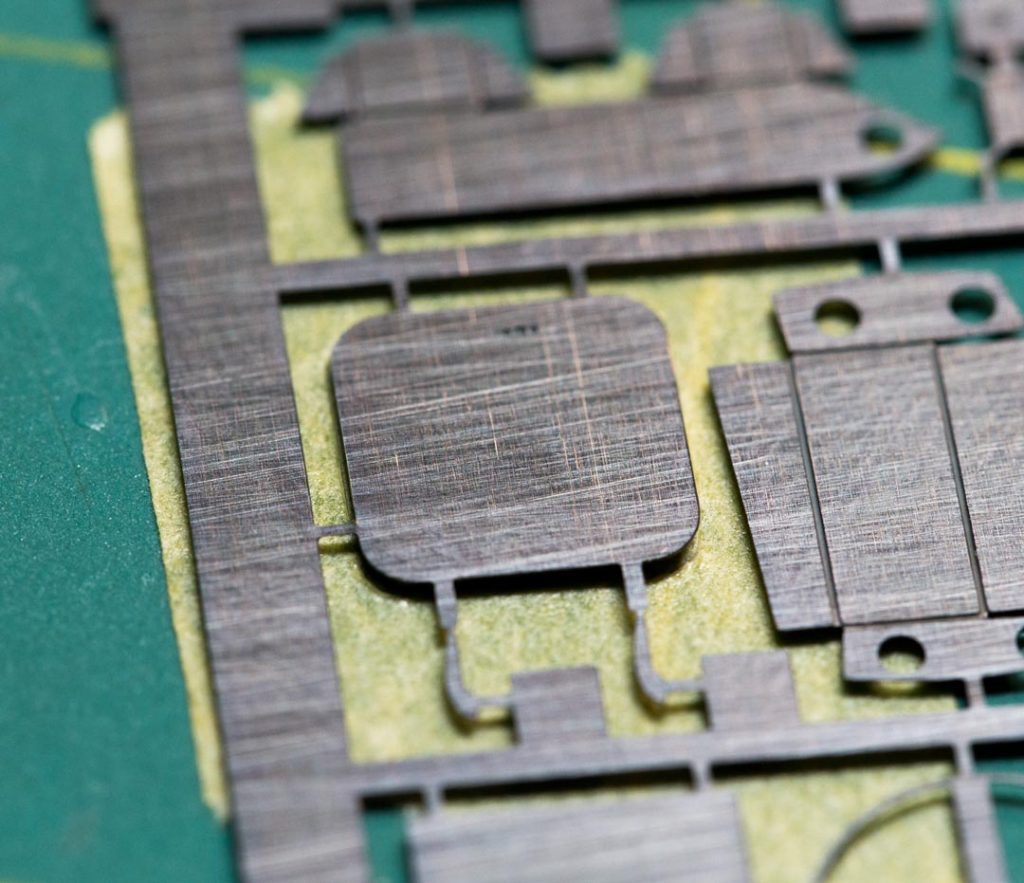
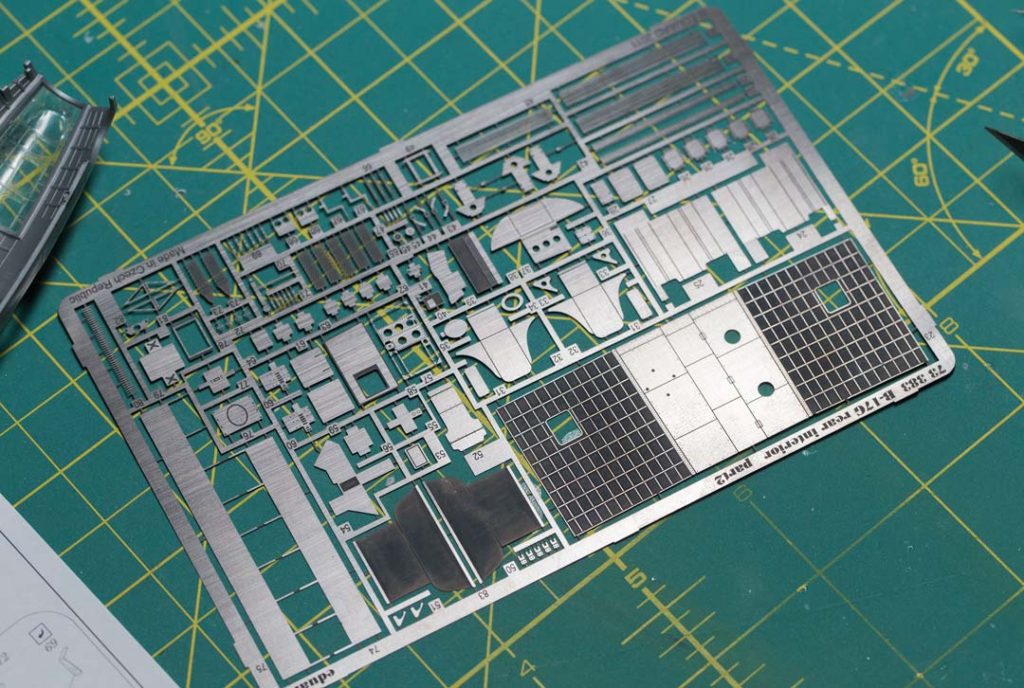
With the front hatch out of the way I am moving on to the radio room. Going against the instructions, I will be bouncing all over the place during this build, basically whenever I get bored working on one section I will move to another. Included in Eduard’s Rear Interior (73383) there are components to pretty much rebuild the entire radio room. In the kit they supply a one piece section that acts as the rooms walls and floor, they suggest to keep the piece together. I deemed it near impossible to add components and get the radio room to fit perfectly upon closing the two fuselage halves. I separated the rooms walls and glued them straight to the fuselage.
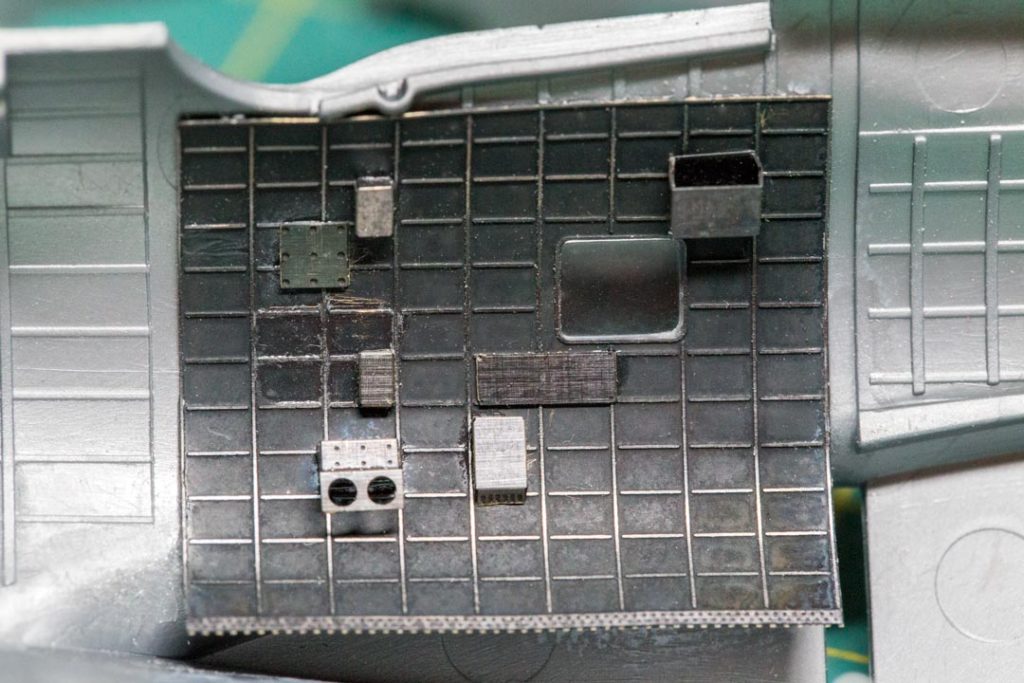
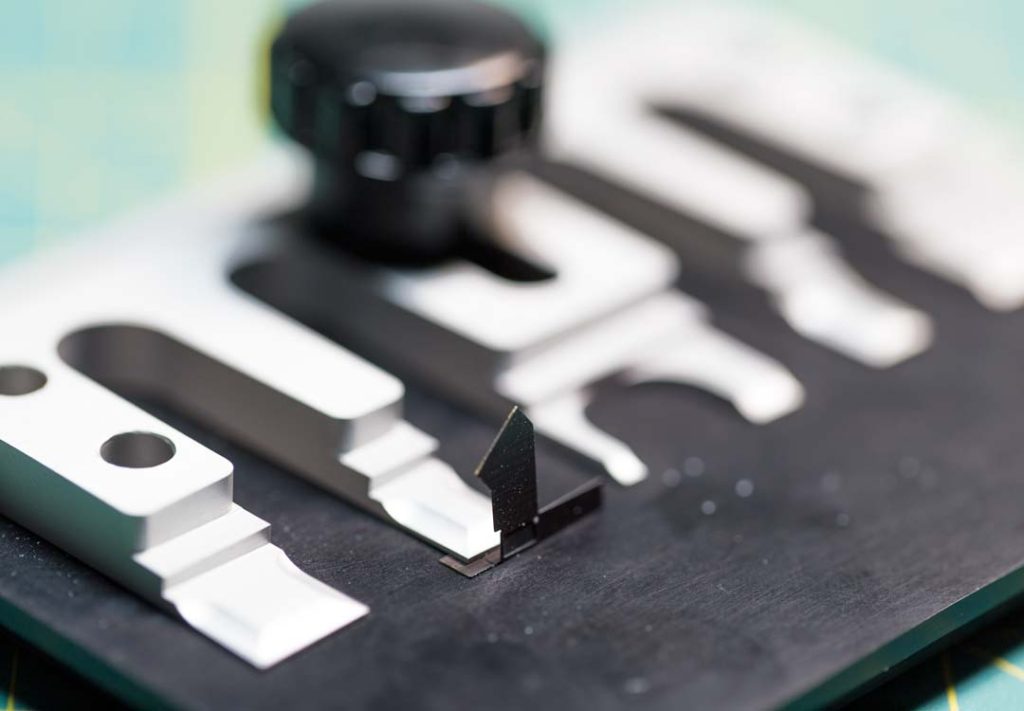 The name of the game with Eduard photo-etched kits is bending, bending, and more bending and the radio room of the B-17G is no different. Tiny box after tiny box are bent and folded to create radio’s, gauges, oxygen tank holders, and everything else found in a B-17G’s radio room. To make this job much easier than it sounds make sure to purchase a photo-etch bending tool from the Small Shop. So far I have one wall finished and hopefully will have the other side finished soon. Stay tuned!

