As this is my first tank build, I decided to do a “straight out of the box” build without any aftermarket parts other than replacing the tracks with MasterClub resin tracks. Since nothing extravagant happened with scratch built details for the mighty Tiger, I decided to roll the whole construction into a build thread.
Wheels
Like any tank model the construction usually starts with the suspension and wheels. I started the long cleanup of ridding the wheels of seam lines and the plastic node connection points on the tires. I won’t attach the wheels until they are painted.
Upon test fitting the wheels I realized that I had some huge fit issues. I didn’t have enough play to mount the outer wheels without coming into contact with the wheels behind them. I don’t know if I did something wrong but I went over the instructions over and over again without finding a mistake on my part.
To give me proper wheel alignment I took a 9/64 drill bit and bore out the innermost hull wheels (parts Q9 and Q10). This allowed the wheels to mount farther back onto the swing arms which gave me a couple more millimeters of play.
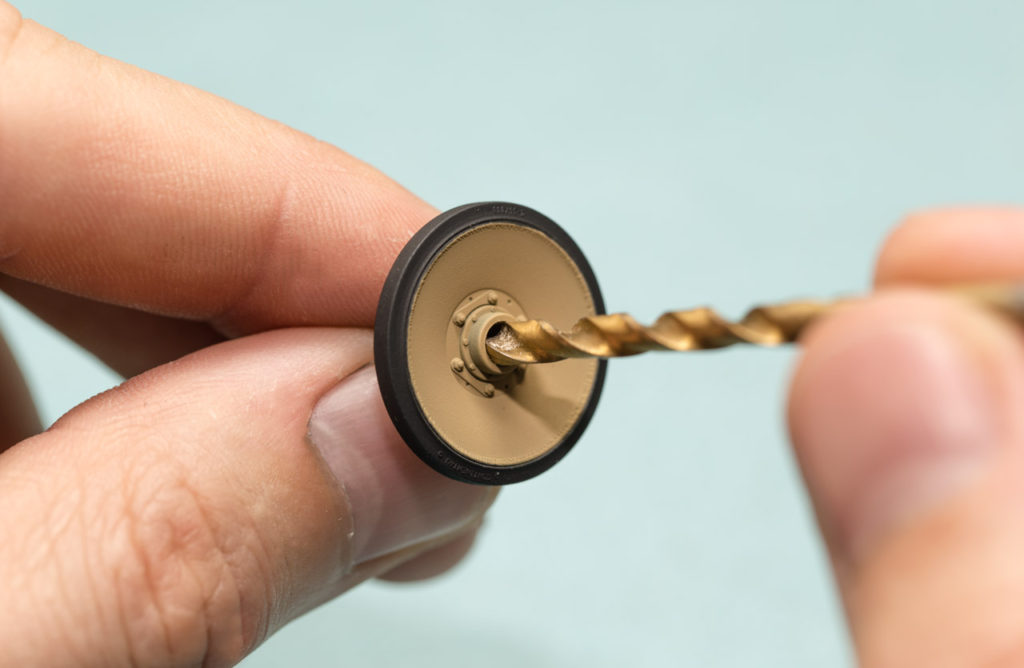
Drilling out the hubs of the Tiger wheels
Lower Hull
Like the real thing, there are 16 torsion bars, resulting in 8 on each side. The bars run transversely through the hull on each side of the tank and is anchored in a socket type housing on the opposite side. The torsion bars are glued into their socket on the opposite side which allows the swing arms to move. I can already tell that it may be hard to make the tank sit correctly if the swing arms are left movable. I may be gluing them in place but this decision will be made at the end of the build once the track gets fitted.
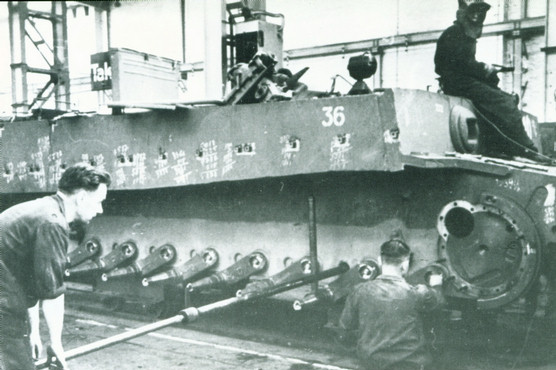
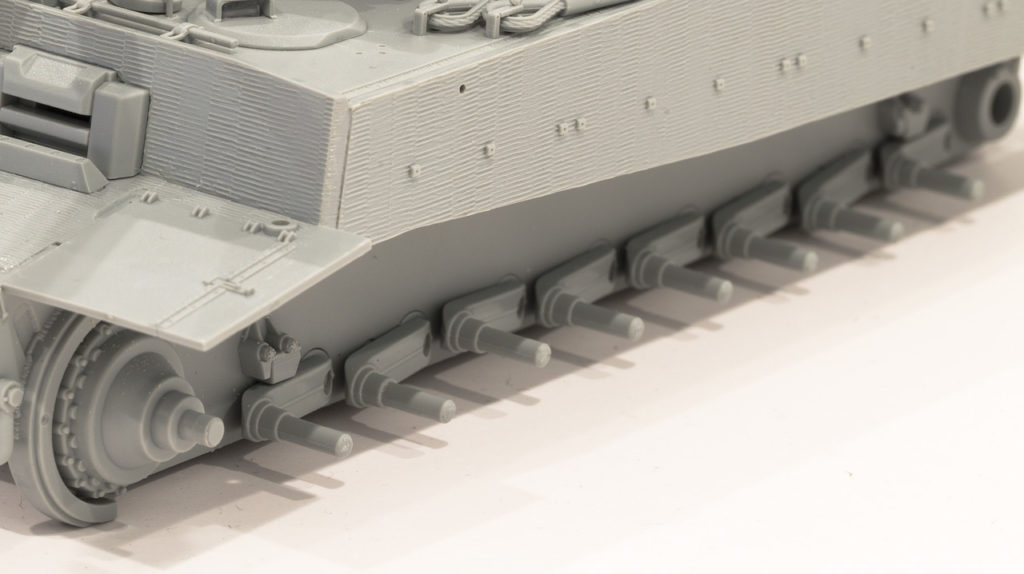 If there is one thing to be careful about here, it is the order of assembly for the jack. Dragon wants you to install the jack cranking rod (part TB6), cranking rod latch (part TB7), and jack hangers (parts P12 and P13) before positioning it on the back of the hull. Following these steps would surely leave you ripping pieces off because of misalignment.
My recommendation is to first glue the jack hangers onto the back of the hull, place the jack on the hangers without gluing, and then glue on the jack latches (parts P14 and P15). This will lock the jack in place while still being fully movable, this will allow you to install the jack cranking rod and latch in the correct position.
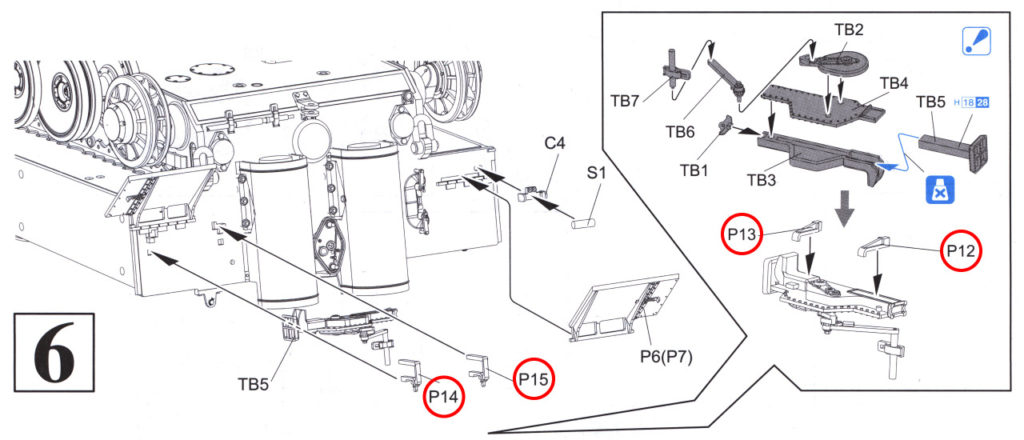
Install parts P12, P13, P14, and P15 first before installing the jack handle.
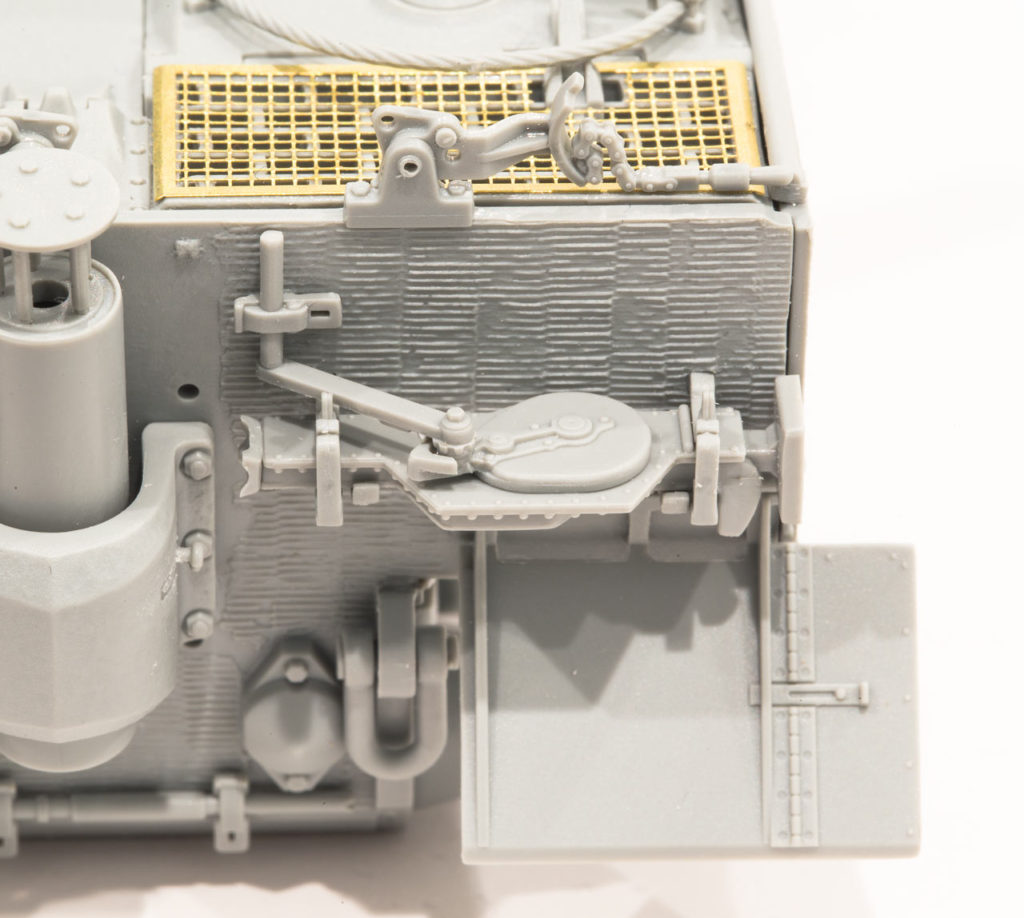
The little model in itself; the jack assembly.
When test fitting the upper hull and the lower hull I realized I would need some pretty big muscle to close the hull up. I went to the workbench and grabbed my Dewalt clamps to really put some pressure on the sidewalls to rid the gaps between the two parts.
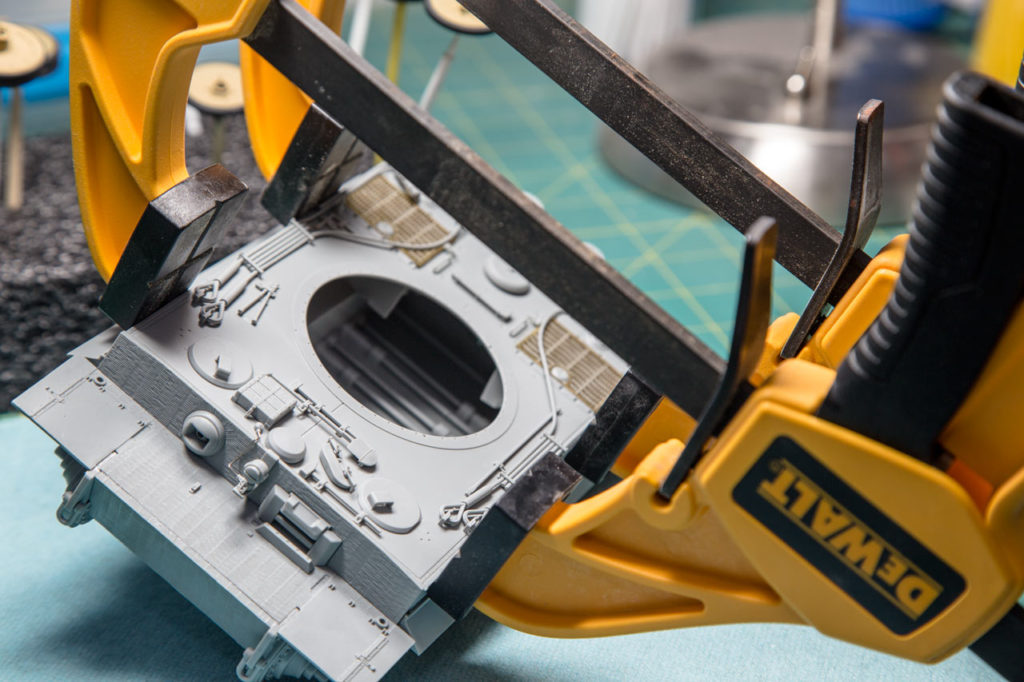 I believe the poor fit of the lower and upper hull is a result of the radiator and fan assembly warping the hull. If I were to do it all over again, I would leave these parts out altogether as once all the grills are installed you don’t see them anyway.
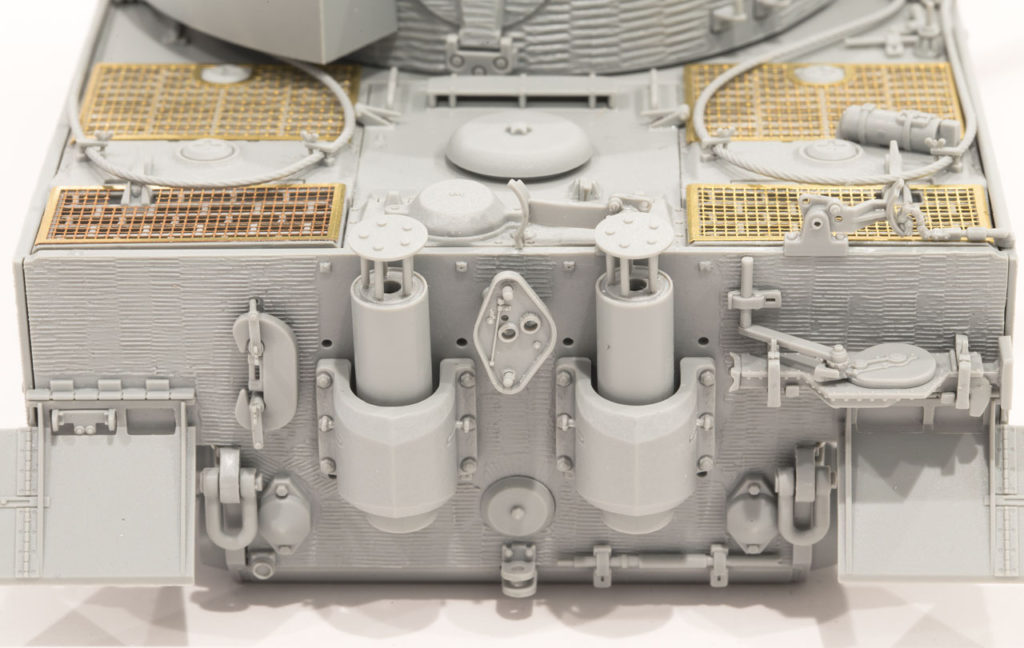 Upper Hull
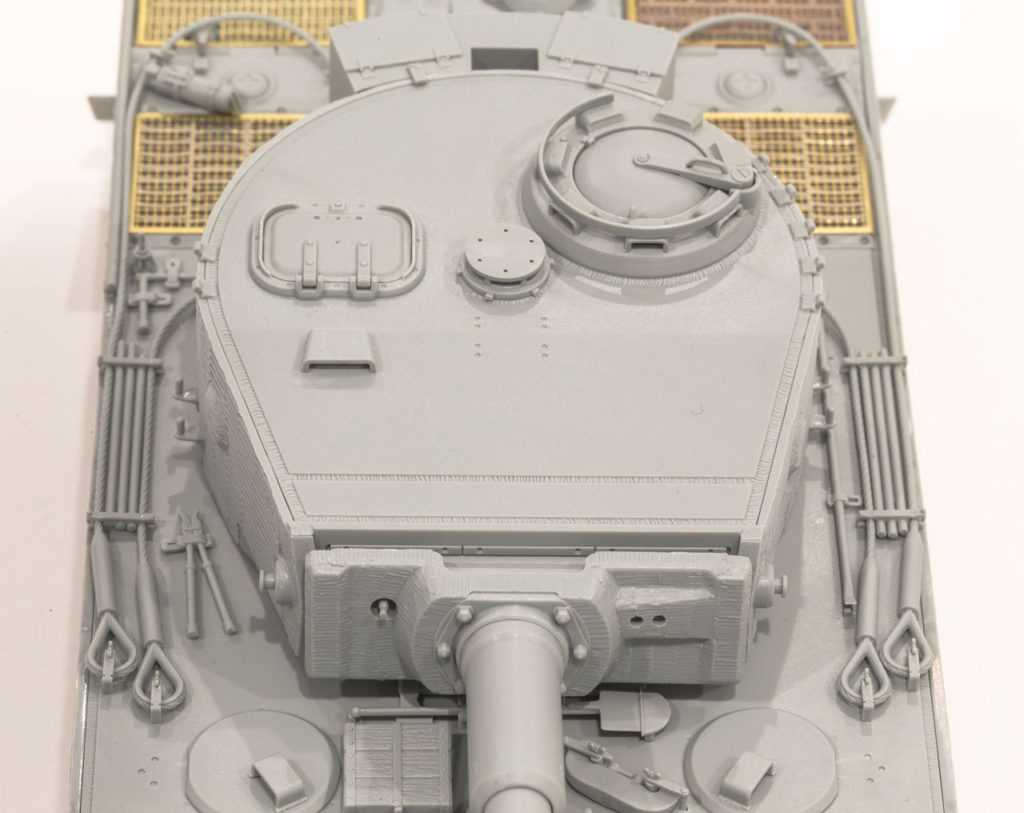
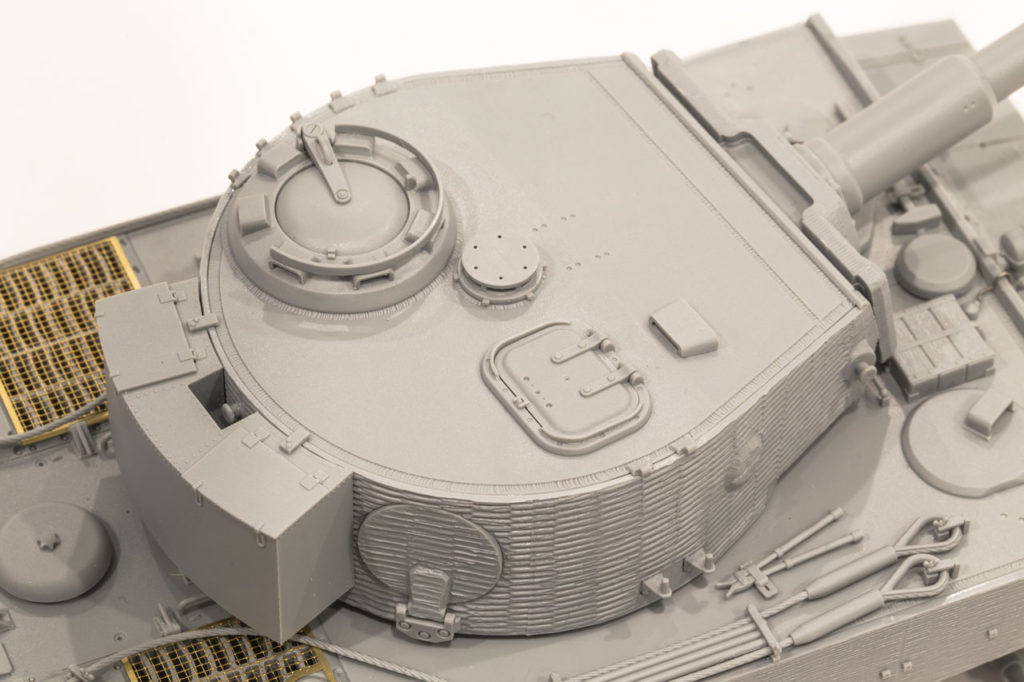
The upper hull has tons of goodies and details to keep you busy for weeks. Its assemblies are highly detailed and contain some of the smallest pieces I have ever seen in a kit.
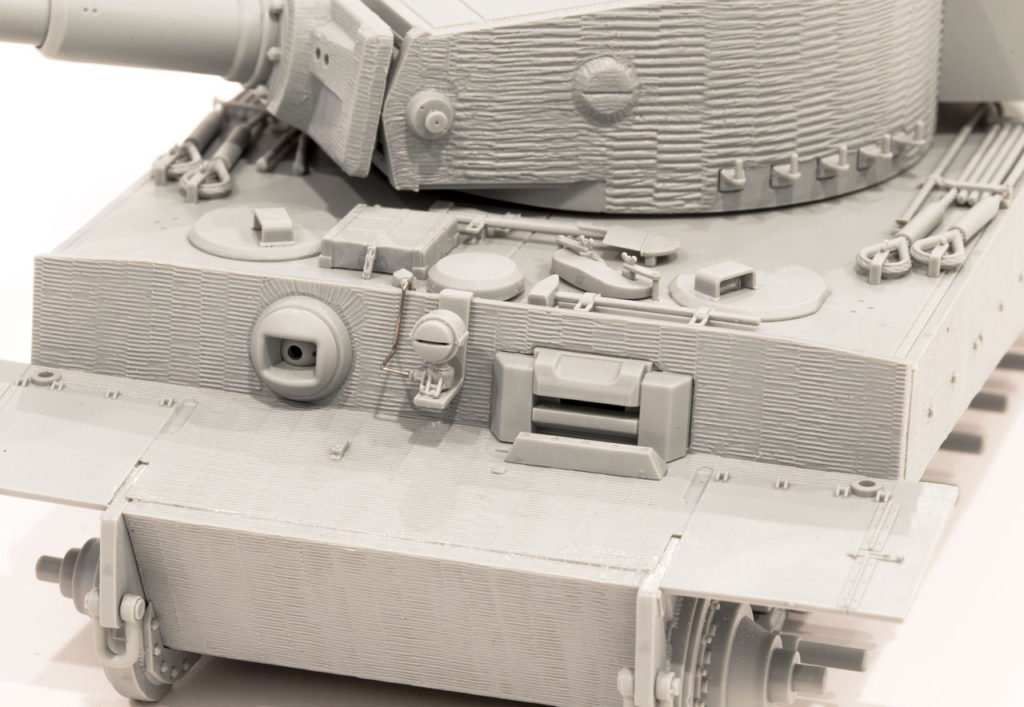
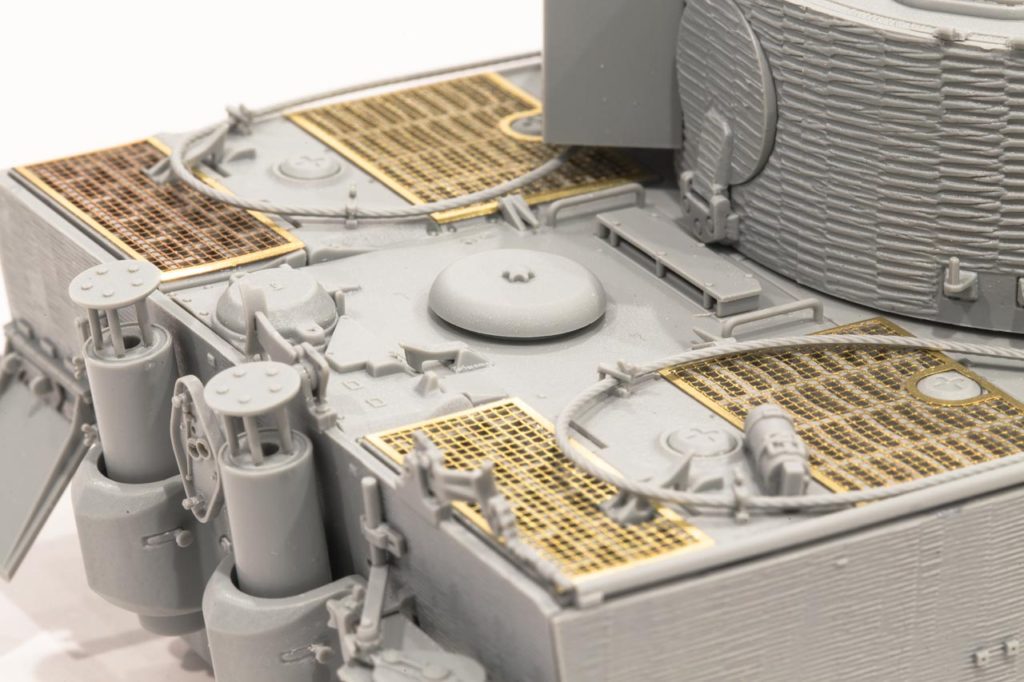 I love how Dragon included a pre-bent wire for the headlight coming from an aircraft modeler. I think that this is an amazing extra because who loves bending fine wire to simulate such details?
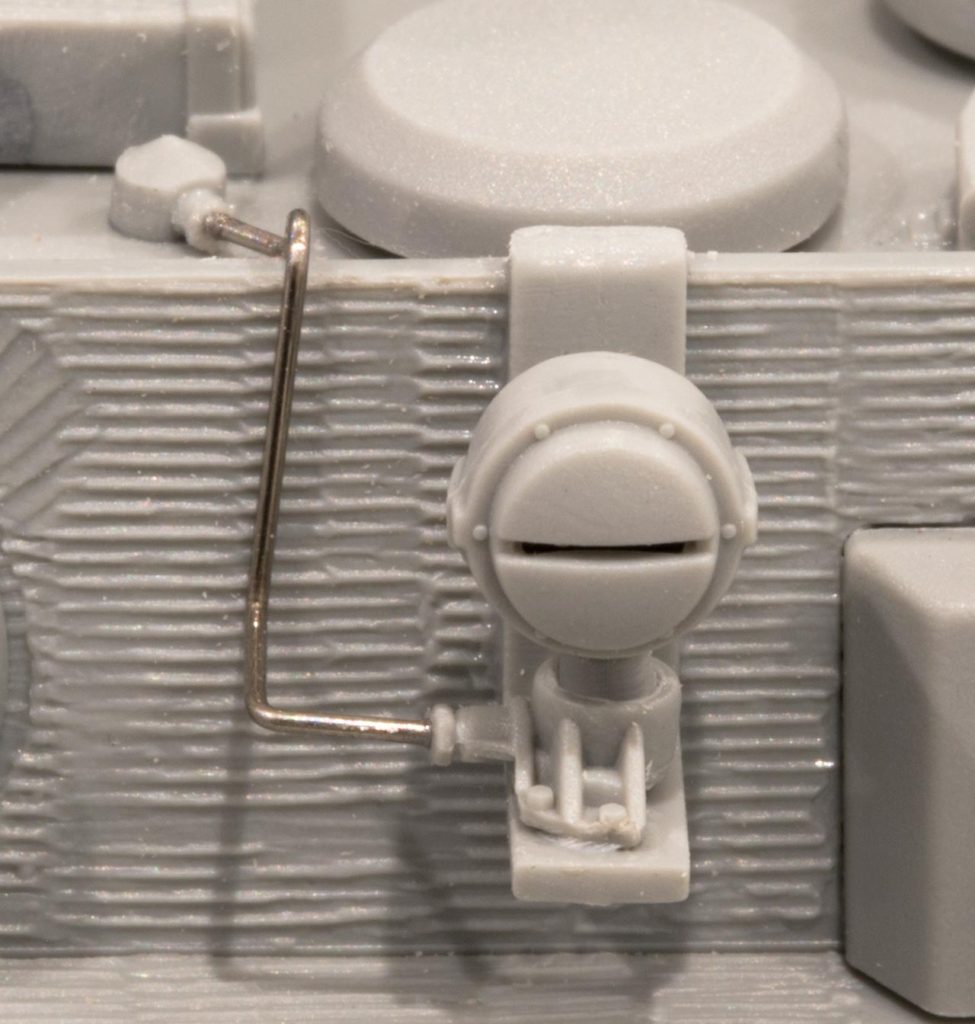
Love the pre-bent wire conduit for the headlight.
Like the rest of the build sections, you should stick to the instructions because going out of order can cause some headaches.
Turret and Barrel
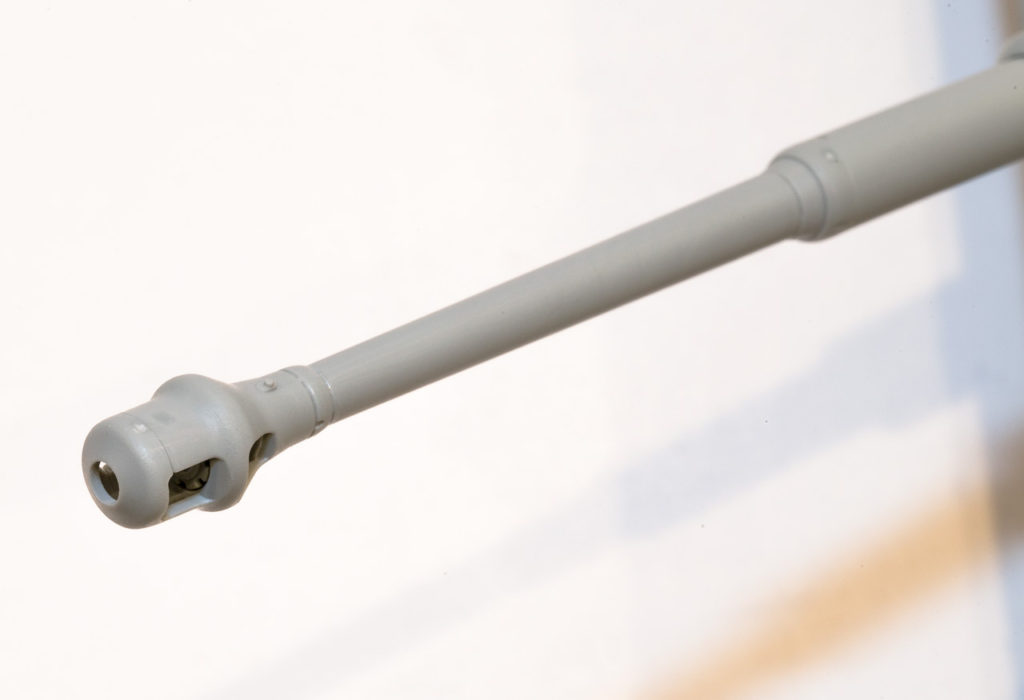
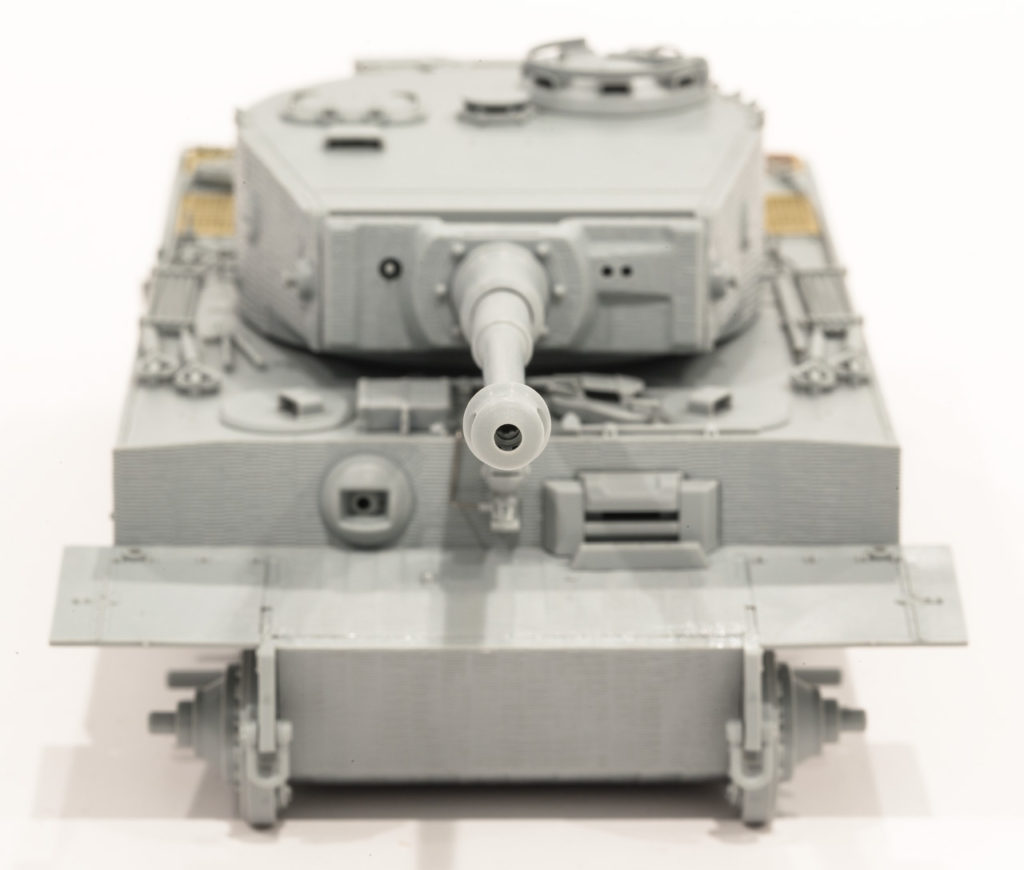
The turret is pretty straightforward with only one issue in the instructions to watch out for. When assembling the barrel on step 10, make sure the muzzle brake is installed with the small bolt on the back end facing up.
The instructions have the grommet (part A9) that holds the barrel, upside down. If you try to close up parts A4 and A23 with the grommet, as shown in the instructions, the parts will not fit. Make sure you have the open end of the notch on the grommet facing down. This will orientate the muzzle brake in the correct position.
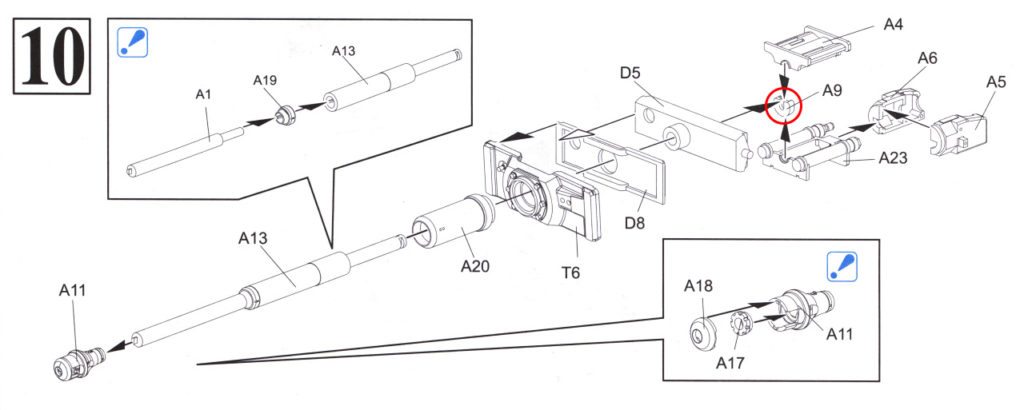
The instructions depict part A9 upside down.
The single-molded barrel sections are nice and with a little sanding the seam lines easily disappear. A little work on the joint between the muzzle brake and barrel is needed but, with a little Tamiya Extra Thin Cement, it can be toned down.
 I didn’t bother installing all the internal detail of the turret as all hatches will be closed.



Hello, i hope u will be continuing the rest of the build. I love your detiled build blog.
Thanks for following the build and liking the articles! I usually don’t do much modeling during the summer months. Once fall comes around I will be getting back into it….stay tuned!
make sure that P14 & P15 are not swapped over by mistake